The best and easiest way to clean your jewelry!
- Randi Owsley

- Jul 11, 2024
- 3 min read

Effortless Jewelry Cleaning with an Ultrasonic Cleaner from Amazon
Keeping your jewelry sparkling and pristine doesn't have to be a chore.
With the convenience of a high-quality ultrasonic jewelry cleaner purchased from Amazon, you can make the process hassle-free and efficient.
Here's a simple step-by-step guide on how you can easily clean your jewelry at home using this device.
What You Need
An ultrasonic jewelry cleaner (from Amazon).
A small drop of mild dish soap.
Your pieces of jewelry.
Step-by-Step Guide
Step 1: Prepare Your Ultrasonic Cleaner
Assuming you've already purchased your ultrasonic jewelry cleaner, unbox and place it on a stable, flat surface.
Ensure it's not too close to the edge to prevent any accidents. Plug in your cleaner according to the manufacturer's instructions.
Step 2: Place Your Jewelry in the Basket
Open the lid of the ultrasonic cleaner and take out the cleaning basket that comes with it. Place your jewelry items carefully into the basket.
It's worth noting that not all jewelry is suitable for ultrasonic cleaning – delicate items with soft stones like opals, pearls, or emeralds should be cleaned cautiously or not at all in these devices.
Note: Make sure to check whether your jewelry is safe for ultrasonic cleaning.
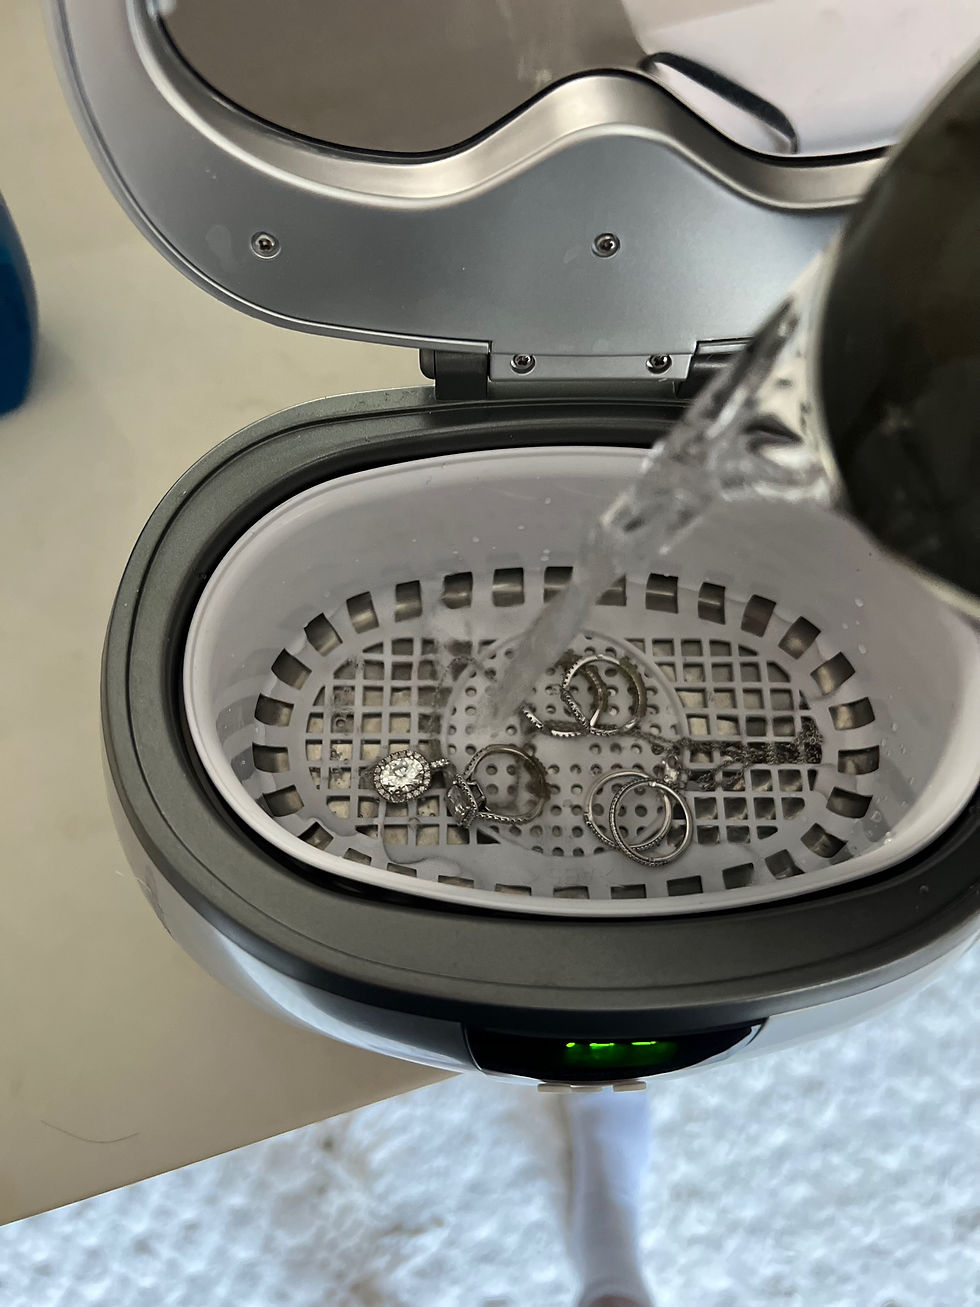
Step 3: Add Water and Soap

Fill the cleaner's tank with distilled water, ensuring that it reaches the fill line but does not exceed it. Why?The reason for using distilled water is to avoid potential mineral deposits from tap water that might tarnish your jewelry.
Add a small drop of mild dish soap to the water for extra cleaning power. Why?The soap will help break down any oils and dirt clinging to your jewelry.
Step 4: Start the Cleaning Process

Place the basket back into the cleaner and close the lid.
Look for the cleaner's settings and hit the 'on' or 'start' button to begin the cleaning process.
The ultrasonic cleaner will produce sound waves that generate millions of tiny bubbles in the water and soap solution through a process called cavitation.
These bubbles will effectively remove dirt, grime, and oils from every nook and cranny of your jewelry.
Step 5: Wait and Unload
Most ultrasonic jewelry cleaners will have a set timer for the cleaning cycle, often around five minutes.
Wait as the machine does its magic. Once the cycle is complete, the machine will typically shut off automatically.
Carefully remove the basket and take out your freshly-cleaned jewelry.
Step 6: Rinse and Dry

Give your jewelry a quick rinse under clean water to remove any soap residue.
Then, gently dry each piece with a soft, lint-free cloth. Be thorough but delicate, especially with intricate designs or softer metals that might scratch easily.
Step 7: Admire Your Gleaming Jewelry
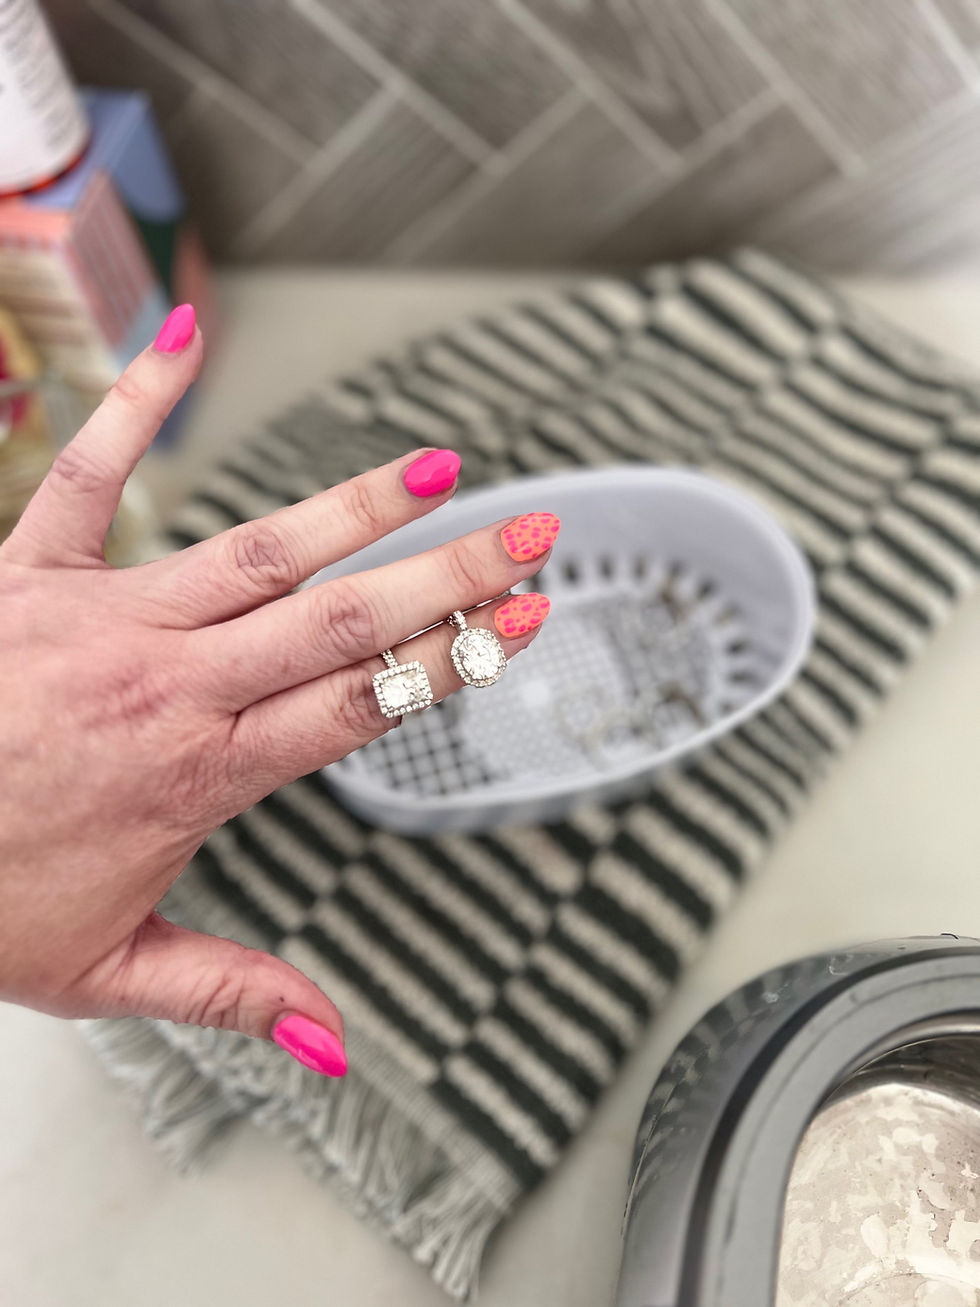
Once dried, your jewelry should look noticeably cleaner and more radiant.
Go ahead and admire the effectiveness of ultrasonic cleaning as you enjoy your refreshed and shiny adornments.
Tips and Advice
Regularly cleaning your jewelry helps maintain its luster and value.
Always follow the manufacturer's instructions specifically for your ultrasonic cleaner model.
Double-check that your jewelry can be safely cleaned in an ultrasonic cleaner, as the process can be too harsh for some materials.
With these simple steps, you can maintain your precious pieces with the same quality care that you might find at professional jewelers, all from the comfort of your home.
The ultrasonic jewelry cleaner from Amazon (around $33)—is your partner in ensuring that your jewelry stays as stunning as the day you got it.


Comments